
Channel Letter Installation Guide
Follow our factory-approved steps to install your illuminated letters — indoors or outdoors — with the included accessories, then keep them looking new for years.
Check the box
Letters, template, clips, power — everything included.
Lay out the template
Pre-spaced pattern positions every letter for you.
Mount each letter
Fix the clips, slide the letter on, secure it.
Connect power
Plug into the low-voltage supply and test.

Installing Your Sign Indoors
Interior brand walls, reception lobbies and studio backdrops are the easiest installs — most take under an hour with two people.
- Prepare the wall. Wipe down the mounting area and make sure the surface is dry, flat and clean.
- Level the template. Tape the included pre-spaced mounting pattern to the wall and check it with a spirit level.
- Mark and drill. Mark the clip locations through the template, then drill pilot holes rated for your wall type.
- Attach the clips. Fix the clear mounting clips with the included screws — no letter removal needed.
- Snap on each letter. Slide each letter onto its clips and push until it clicks into place.
- Run the power. Connect the low-voltage driver and plug the letter wiring into it using the included connectors.
💡 Indoor walls are usually drywall, tile or wood. For tile or glass, use the silicone adhesive pads included in your box instead of screws.
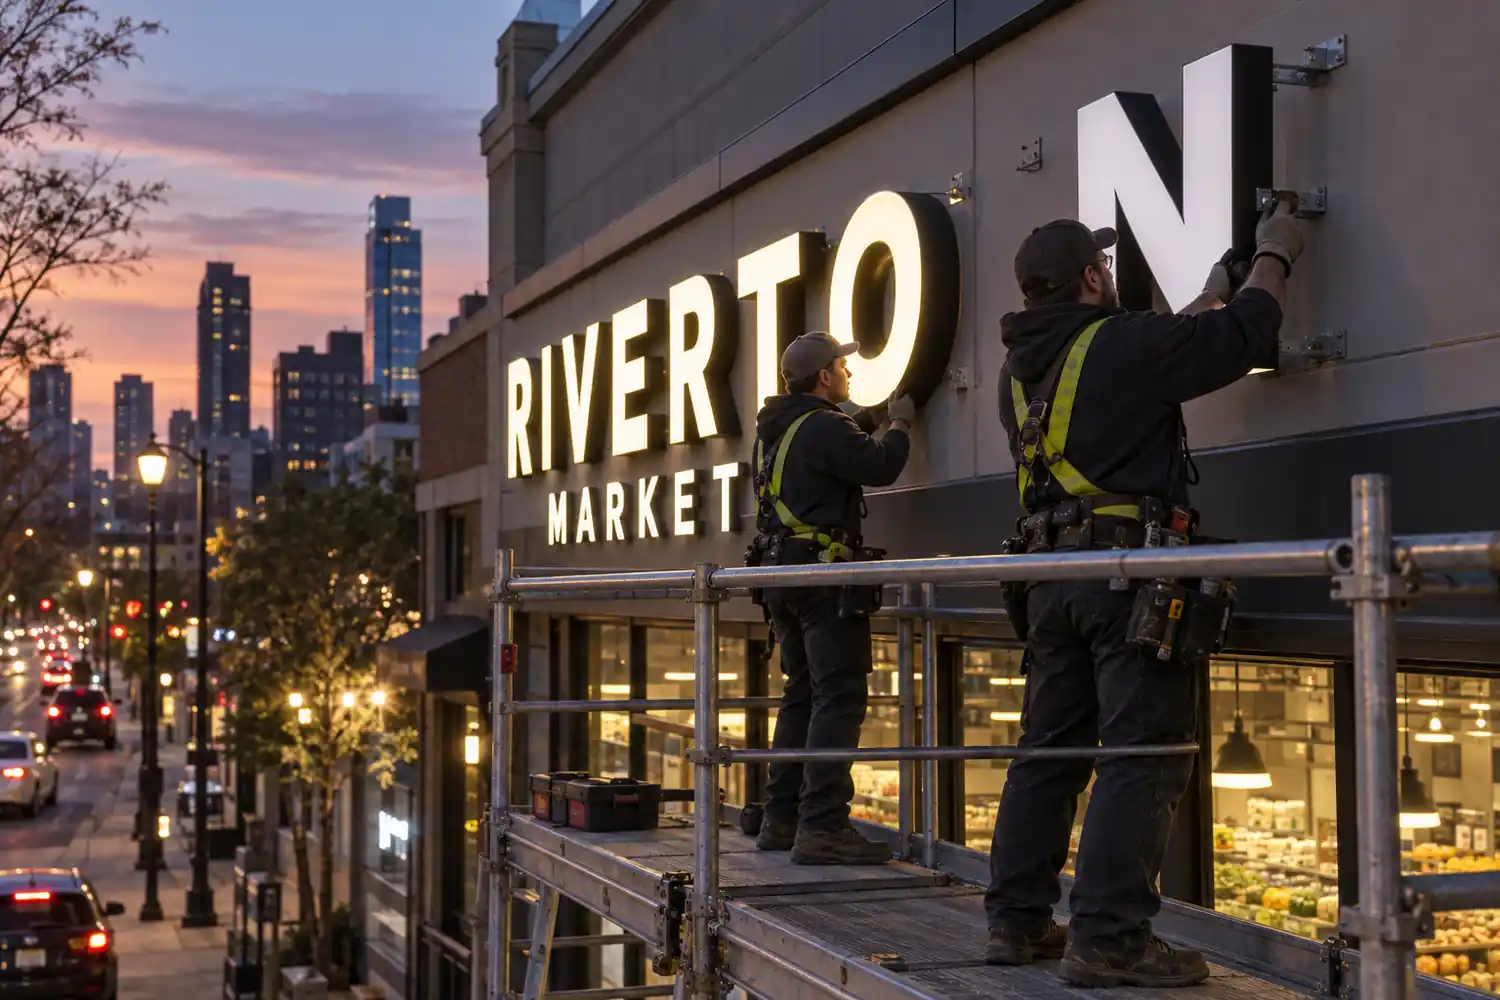
Installing Your Sign Outdoors
Exterior facade signs need a little more care — weather sealing and safe access come first. Follow these steps on a dry day.
- Plan access safely. Use a ladder rated for the height or scaffolding for multi-story facades. Never work alone.
- Check the wall material. Brick, concrete and stucco need masonry anchors; metal and wood faces use the standard screws.
- Level and mark. Fix the mounting template, confirm it is level, then drill anchors at the marked points.
- Mount letters. Fasten the clips, slide each letter on, and torque the screws gently — do not over-tighten.
- Waterproof the wiring. Route the low-voltage cable through the exit hole and seal it with the silicone grommet and outdoor-rated sealant.
- Test and finish. Power up, check every letter from across the street, then remove the protective film from the faces.
☔ Every letter ships with pre-wired leads and a waterproof grommet. If your wall is exposed to direct rain, angle the letters with the included standoff spacers.
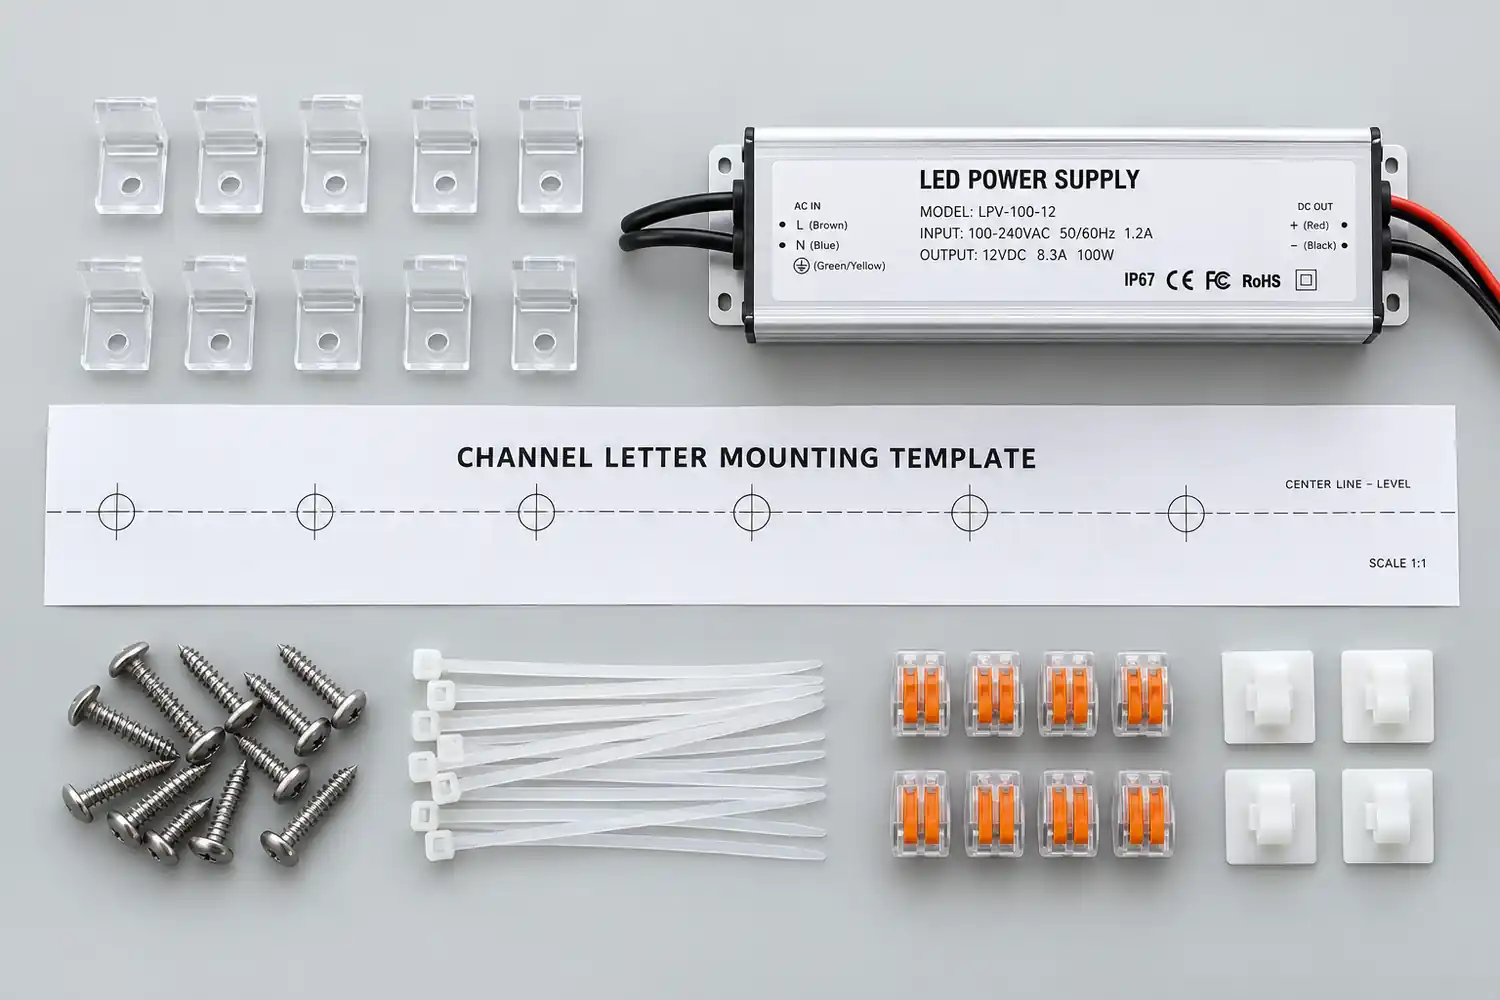
Every Sign Ships With These Accessories
No extra shopping — your order includes everything needed for a clean, code-friendly installation.
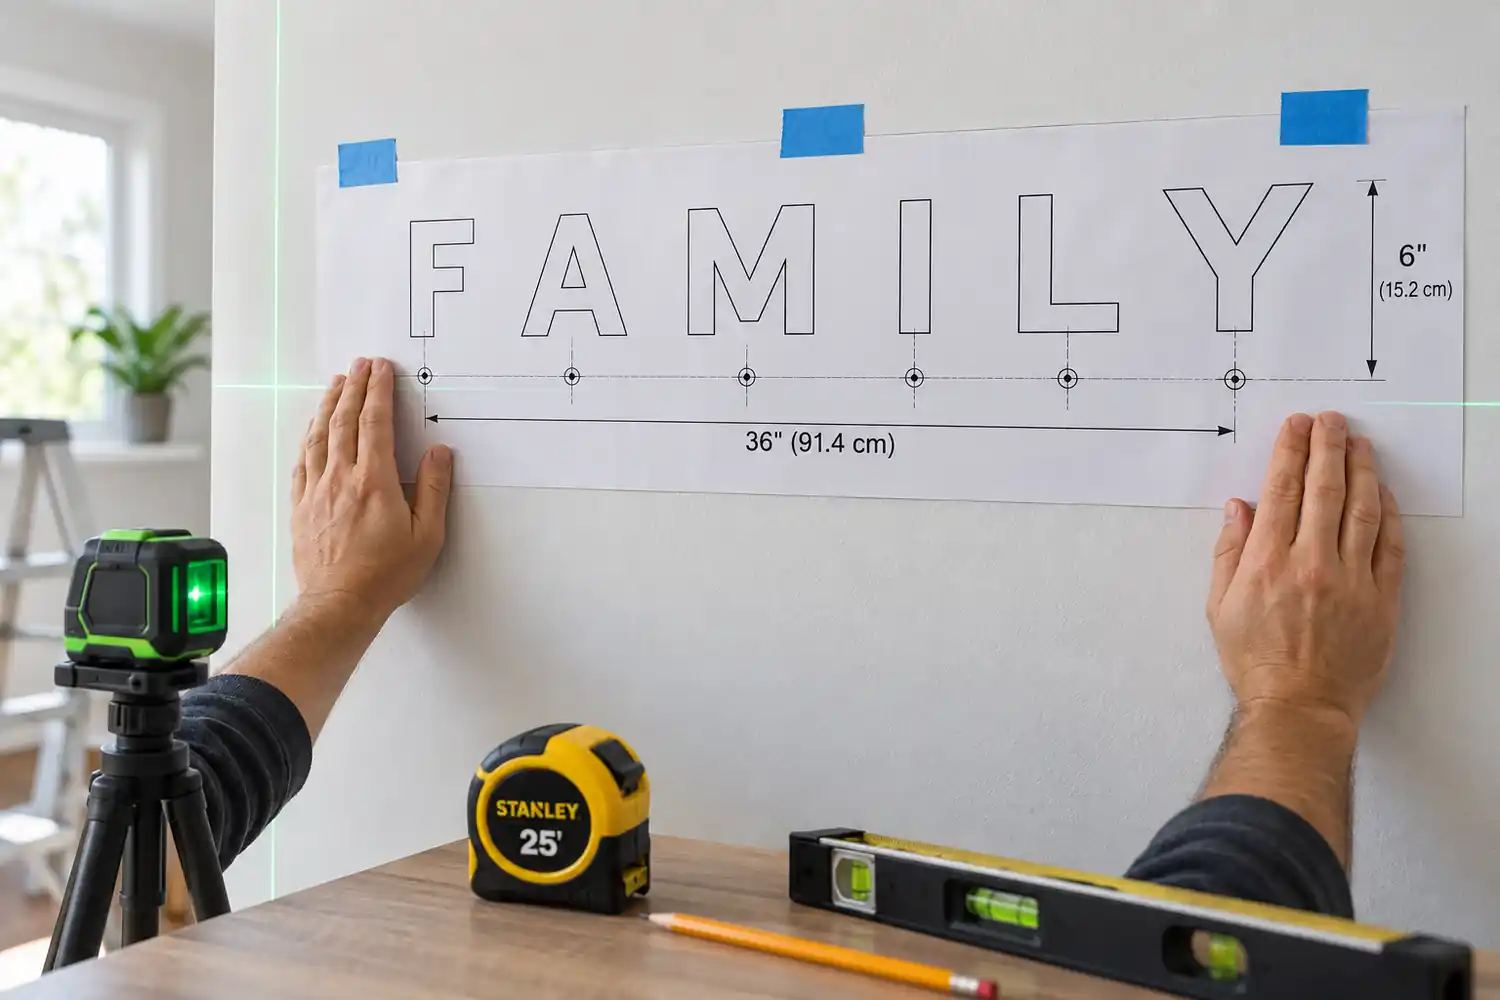
Using the Mounting Template
The template arrives printed at 1:1 scale with each letter outlined. Tape it level, drill through the marked dots, then peel it away — your letters will line up perfectly every time.
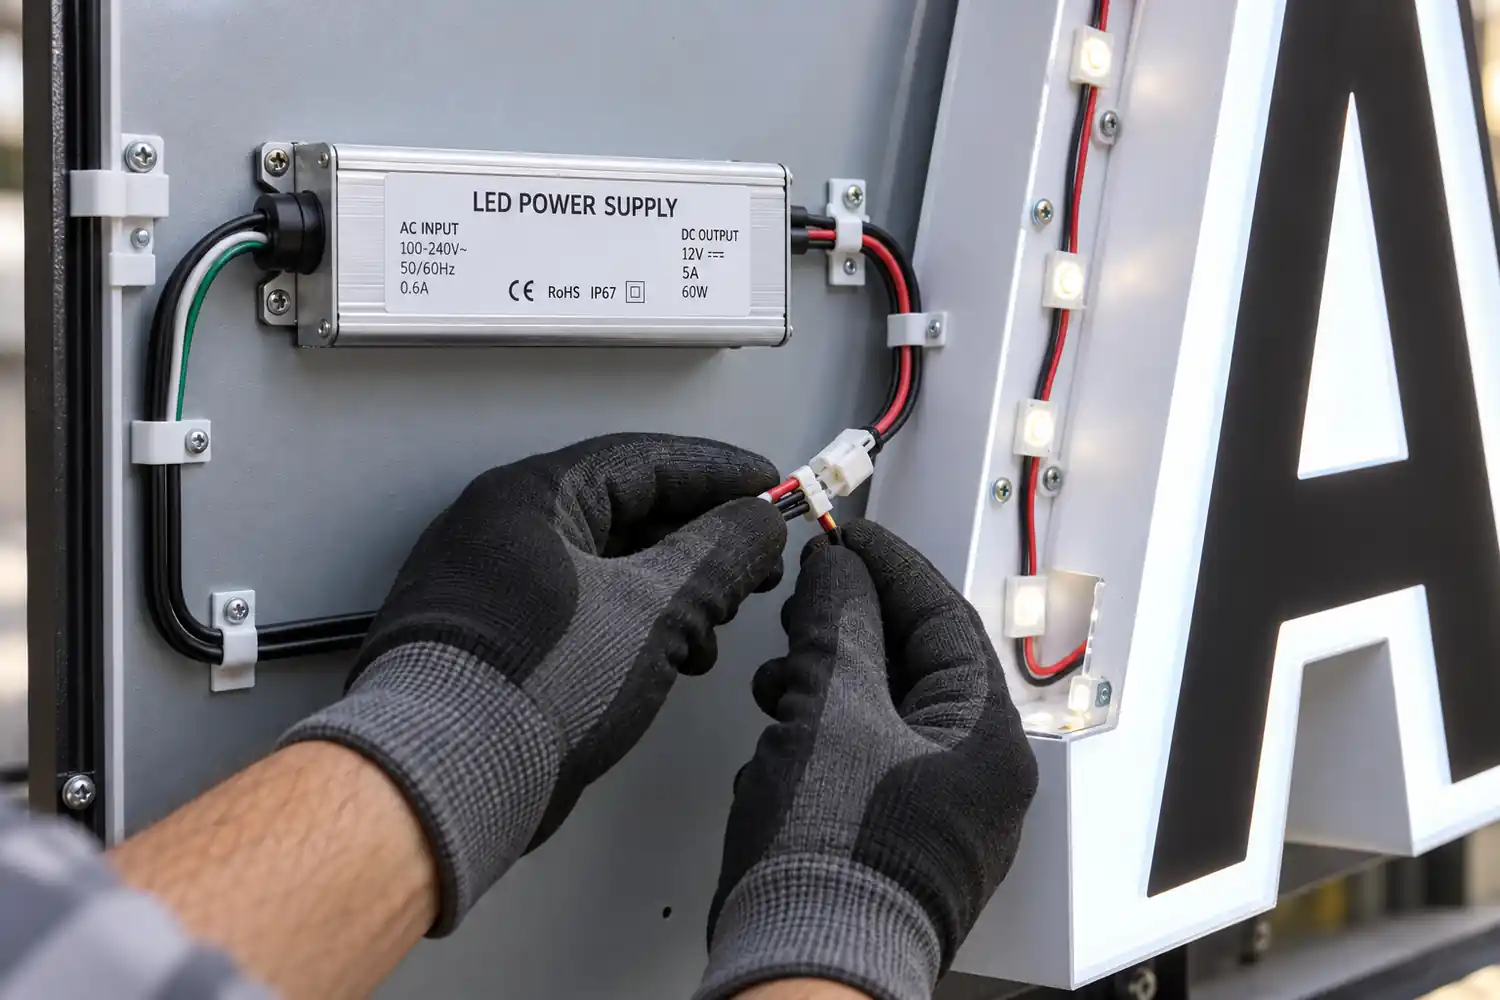
Low-Voltage Wiring
Letters come pre-wired with quick-connect leads. Match the coloured wires to the driver terminals, tighten the connectors, and you are done — no electrician required for the low-voltage side.

Keeping Your Sign Bright for Years
LED channel letters are low maintenance, but a few minutes of care keeps them looking factory-fresh.
- Clean every 2–3 months. Wipe the faces with a soft, damp microfiber cloth and mild soapy water. Never use solvents or abrasive pads.
- Rinse after dust storms or sea air. A gentle hose-down removes salt and dust build-up from the letter edges.
- Inspect the grommets yearly. Check that the cable seals are intact and re-apply outdoor sealant if cracked.
- Leave the LEDs alone. The modules are sealed — if a section dims after years, the driver or module can be replaced in minutes by a local sign shop.
- Keep the driver ventilated. Make sure the power supply box has airflow and is protected from direct rain.
Need help with your install?
Send us a photo of your wall — our team will confirm the right mounting plan for your sign.
Get Free Install Advice