Getting Your Neon Sign Installed Correctly
You have designed the perfect neon sign. The colors are right, the typography is flawless, and the size is perfect for your space. But how do you actually get it on the wall safely and securely? This guide covers the three main installation methods for LED neon signs, along with critical safety considerations.
For design inspiration before installation, explore our guide to choosing the right neon design style.
Method 1: Wall-Mount Installation
Wall-mounting is the most common installation method for neon signs. Most commercial LED neon signs come with an acrylic backplate that sits flush against the wall, with the neon tubing attached to clear acrylic standoffs that create a “floating” effect.
What you need:
- Stud finder or wall anchors (for drywall)
- Drill with appropriate masonry or wood bits
- Level (a laser level is ideal for multi-point installations)
- Mounting brackets (usually included with custom signs)
Real-world examples of wall-mount installations include the gradient lightbox bar sign and the LECHAO Nightclub wall neon. Both use acrylic backboards for clean, professional mounting.
Step-by-Step Wall Mount
- Hold the sign in position and mark screw locations with a pencil
- Drill pilot holes — use plastic anchors for drywall, masonry bits for brick/concrete
- Insert wall anchors if needed
- Attach mounting brackets to the wall using the provided screws
- Hang the sign on the brackets and verify it is level
- Connect the power supply and route the cable discretely
Method 2: Hanging Installation
Hanging installations are popular for window displays, ceiling-mounted signs, and temporary event setups. The sign hangs from chains, cables, or decorative ropes attached to ceiling mounting points.
The motorbike shop hanging neon demonstrates how suspended signage can create visual interest at eye level while keeping the wall surface free for other displays.
Weight considerations: Most LED neon signs are surprisingly light (3-8 lbs for a 24″ sign), making them suitable for standard ceiling hooks. However, large installations over 15 lbs require ceiling joist mounting.
Method 3: Freestanding Installation
Freestanding neon signs sit on their own base or frame, requiring no wall or ceiling attachment. This is the most flexible option and is increasingly popular for:
- Wedding and event signs that need to be portable
- Trade show and pop-up store displays
- Retail floor displays
- Photo booth backdrops
The MARRY ME wedding sign is a perfect example — a freestanding frame allows the sign to be used at the proposal venue, then moved to the wedding reception, and finally taken home as decor.
Electrical Safety Tips
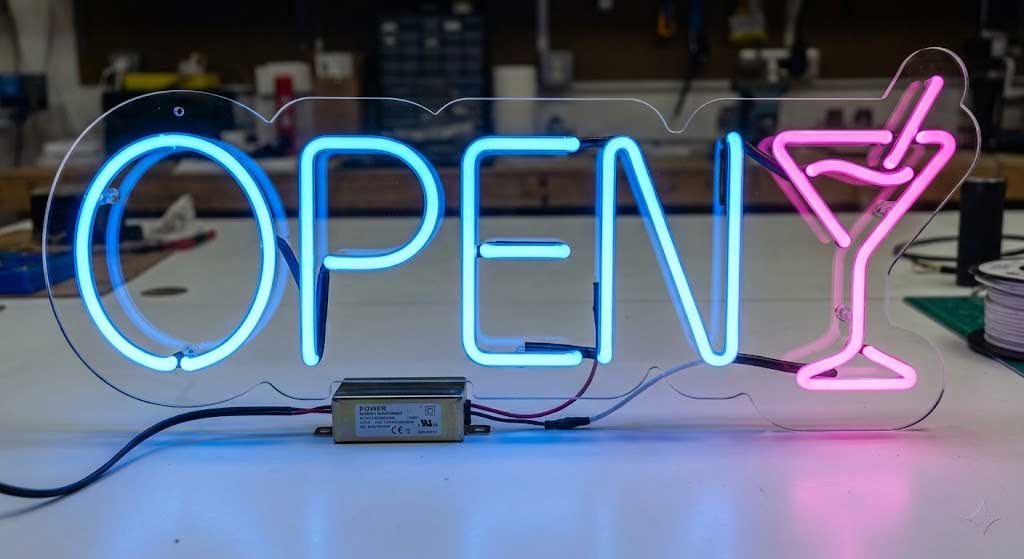
Always use the included power supply. LED neon operates on low-voltage DC (typically 12V or 24V), but the power supply must be matched to the sign’s specific requirements. Never cut or extend the power cord yourself — have a licensed electrician do it.
For outdoor installations, ensure the power supply is housed in a weatherproof enclosure. Indoor-only power supplies exposed to moisture can fail or cause shorts.
Pro tip: Plan your cable routing before installation. A visible trailing cable ruins the clean look of an otherwise perfect neon installation.