One storefront, one sign problem. Forty or four hundred locations, and a sign problem becomes a brand problem: inconsistent letter heights, mismatched colors, installation shortcuts that quietly erode the identity you spent years building. Multi-location operators need a written standardization system — a master spec, fixed tolerances, a prototype approval gate, a phased rollout, and an audit trail that makes every future location a near-copy of the last. This guide is the operations SOP behind chain store signage, from the first spec document to the final post-install audit, and it closes with a downloadable spec template outline you can adapt for your own rollout.
Why Franchise Signage Fails Without a Written Standard
Most franchise signage programs run on implicit knowledge. The first store gets a beautiful sign; the second gets one that “looks about the same”; the tenth gets one the local installer thinks is close enough. Each close-enough decision compounds, and by year three the chain’s storefronts read like unrelated businesses sharing a logo.
The failure modes are predictable:
- Color drift. Paint and LED orders placed from memory turn warm-white into warm-yellow across a region.
- Scale drift. A 30-inch cap height becomes 24 because the new façade has “less space,” and the brand reads smaller and softer at every new store.
- Finish drift. Unspecified finishes — gloss, satin, brushed — give every fabricator a different choice.
- Install drift. Mounting heights, setbacks and electrical chases vary by city, contractor, and whoever was on site that day.
The fix is a written standard that removes communication as a requirement: if the rule is in the spec document, a fabricator in Denver and one in Dallas build the same sign without ever talking. Our guide on keeping multi-location storefronts consistent takes the brand-level view; this article covers the operations machinery that enforces it location by location.
Building the Master Brand Spec Document
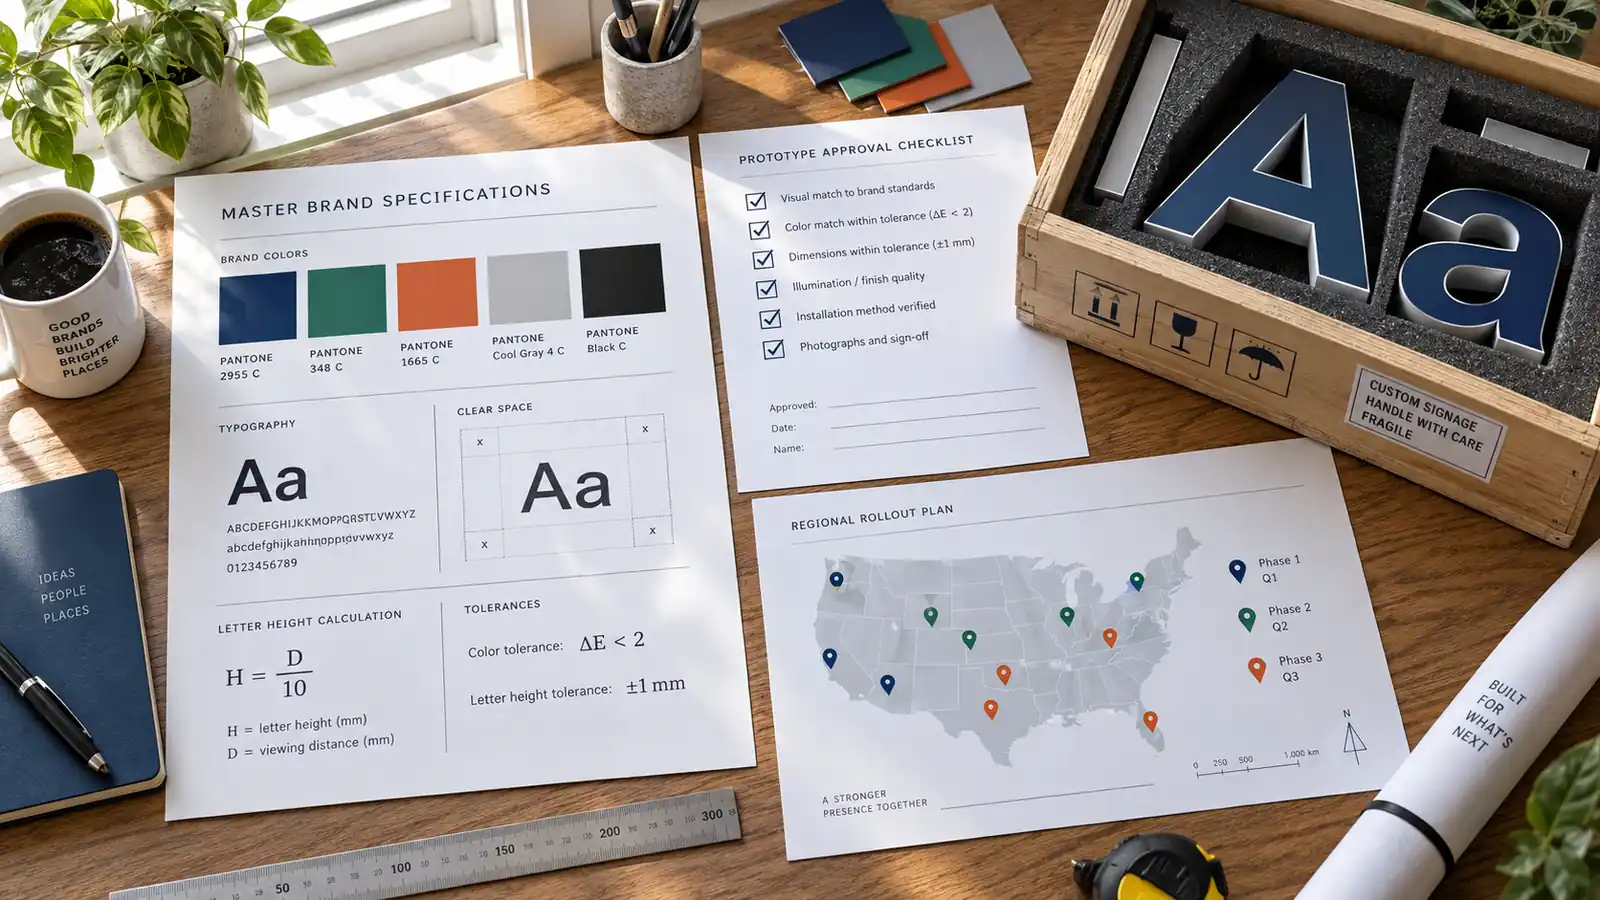
The master spec is the single source of truth for every sign in the network: a versioned PDF with a cover page showing version and date, distributed to every approved fabricator and read before any install begins. Vague language is the enemy. “Brand red” is not a spec; “Pantone 186C, RAL 3001 alternative, LED-free face paint” is one.
Colors, Fonts and Clear Space Rules
Pin down every material that carries a brand color:
- Face finishes: exact codes (Pantone, RAL or TCC) with gloss level, plus a list of prohibited alternatives.
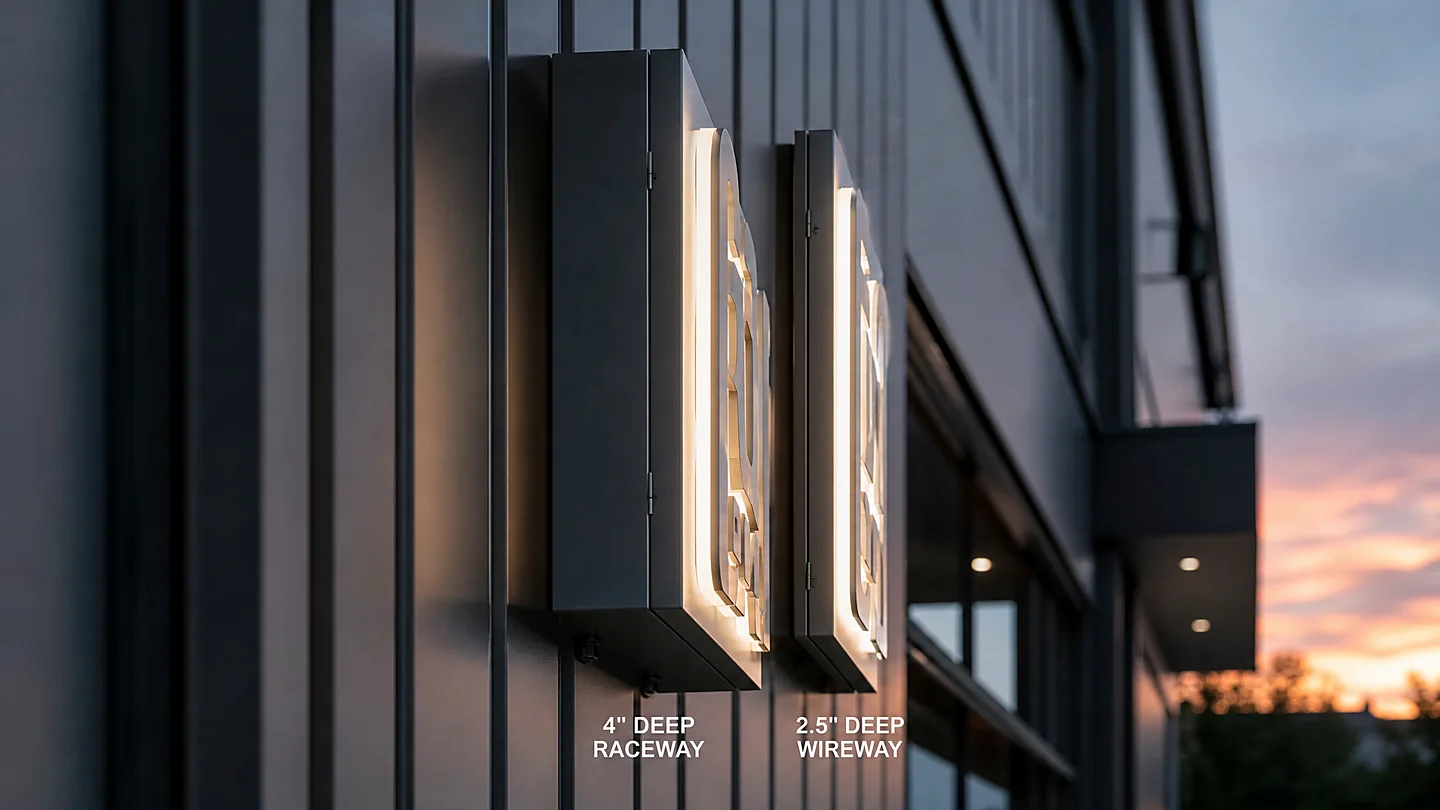
- Edge and channel finishes: unpainted brand finishes like exposed aluminum or black anodized need their own callouts — the edge is visible from every angle.
- LED color temperature: state kelvin, not adjectives. “3000K, 5000K or 2700K candle effect” — “warm” means different things to every lamp supplier.
- Fonts and letterforms: the sign font is a logo element. Specify typeface, weight, letter spacing and cap height, prohibit “similar fonts,” and set clear space as a minimum empty margin around the sign, defined as a multiple of cap height.
If your logo artwork has never been packaged for fabrication, do that first — preparing a logo for a channel letter quote covers what a spec-ready file looks like.
Storefront Letter Height Rules
Write the sizing rule once, in formula form, and apply it mechanically: cap height equals one-tenth of the distance from the primary viewing position, with a minimum of 24 inches for retail and a maximum set by local code and façade proportions. The spec also lists the exception procedure, because unlimited exceptions quietly kill a standard. The channel letter sizing guide shows how these numbers are calculated for one storefront; the spec locks that calculation into a rule the whole network follows.
Downloadable spec template — outline. The master document contains, in order:
| Section | What it pins down |
|---|---|
| 1. Brand identity | Logo usage, clear space, font files, prohibited treatments |
| 2. Color system | Pantone/RAL codes, gloss levels, LED kelvin, prohibited alternatives |
| 3. Sizing rules | Cap height formula, minimum/maximum, exception procedure |
| 4. Materials & finish | Approved channel, face, edge and cap materials per sign type |
| 5. Tolerances | Dimensional and color tolerance table (next section) |
| 6. Prototype requirements | What must be approved before volume production |
| 7. Installation standard | Mounting, setbacks, chases, electrical, code compliance |
| 8. Audit & version control | Audit checklist, deviation log, spec revision process |
Setting Production Tolerances for Consistent Letters
A spec without tolerances is a wish. Two fabricators building to “brand red, 30 inches tall” will produce letters that differ measurably. The tolerance table turns the spec into a contract, and it belongs in the master document in a form every supplier signs.
Dimensional Tolerances
The tolerances that matter in practice:
- Letter height: ±1 mm on the finished face — forty stores stay visually indistinguishable at typical retail cap heights.
- Channel depth and setback: ±2 mm, because depth controls how far the halo of light projects against the wall.
- Letter spacing: ±1 mm between characters; spacing drift is what makes the same font look like two different brands.
- Planar alignment: the sign line flat within 2° of the datum, so multi-line lockups line up.
Put the table on every purchase order and require the fabricator’s QA to sign the final measurement sheet against it. A dimensional certificate on file is cheap insurance; a mismatch found after install is not.
Color Tolerances: Specifying Delta E
Paint and LED color are measured in ΔE, the numerical distance between target and delivered color. Vision treats ΔE under 1.0 as imperceptible and over 2.0 as clearly different when two samples sit side by side. For a multi-location program, spec ΔE ≤ 1.5 per batch and ≤ 2.0 between any two locations, measured against a calibrated reference — never a screen or a swatch card. Two rules keep this real:
- Ship a physical color sample (painted panel or LED test patch) for approval before each production run; “same code” is not “same color.”
- Store a sealed reference sample of the approved batch at HQ. Every future dispute is settled against that object, not against memory.
For lit signs also specify LED color temperature, CRI (minimum 80, ideally 90+ for faces near visible interiors) and a Kelvin reading at commissioning of every installed sign.
LED and Electrical Consistency
The electrical spec standardizes what makes one location glow while its neighbor flickers: driver type and efficiency class, dimming curves (specify the percentage, not the feeling), power supply mounting and redundancy, and surge protection rated for the region. A consistent lighting spec is a consistent maintenance spec — when every sign uses the same driver, one spare-parts bin at each regional warehouse covers all of them.
The Master Prototype Approval Process
Before volume production, the first physical sample of each sign type passes a formal gate. One wrong assumption about a material ships incorrectly forty times; the gate is the cheapest line item in the whole standard.
Four steps:
- Build to spec. The fabricator produces the full prototype — every material, finish and LED type — not a mockup of it.
- Photograph under fixed conditions. Same lighting and camera settings, day and night against a neutral wall. Photo review catches most problems without anyone traveling.
- In-person review. Brand, operations and the fabricator walk the physical prototype against the spec, section by section, recording sign-offs or change requests.
- Freeze the approved state. The approved prototype and its material, paint and lamp lot numbers become the reference; any substitute after approval needs a new mini-prototype and sign-off.
Build, Review and Sign-Off Checklist
- Face color within ΔE 1.5 of the sealed reference
- Edge and channel finishes match spec callouts
- Dimensions within the tolerance table, measurement sheet attached
- LED kelvin and brightness measured after 30-minute run-in
- Clear space and setbacks verified on a site drawing
- Driver, surge protection and chase layout per spec
- Photo record archived to the location file, day and night
Phasing Your Regional Rollout
A rollout that ships fifty locations at once fails in fifty places at once. The standard model is phased, regional and reference-driven: each region opens with one anchor location built and audited to the highest standard, and that anchor becomes the local benchmark every subsequent store is measured against.
| Phase | Scope | Exit criteria to unlock the next phase |
|---|---|---|
| Phase 0 — Reference | One anchor location per region, full audit | Anchor passes 100% of the audit checklist; deviations closed |
| Phase 1 — Pilot wave | 2–3 locations per region, mixed fabricators | Color and dimensions within tolerance across all pilots |
| Phase 2 — Scale wave | Remaining locations on a rolling schedule | Audit pass rate above 90%; findings closed within 30 days |
| Phase 3 — Steady state | New openings follow the standing process | Annual re-audit cycle live; deviation log current |
Two rules keep it honest. No region enters a scale wave until its anchor and pilots pass — a perfect spec built by an unqualified fabricator still fails. And keep one deviation log for the whole network: when a local condition forces a change, the approved resolution is logged once, and every other location in that market follows it. The log is what version control is built on.
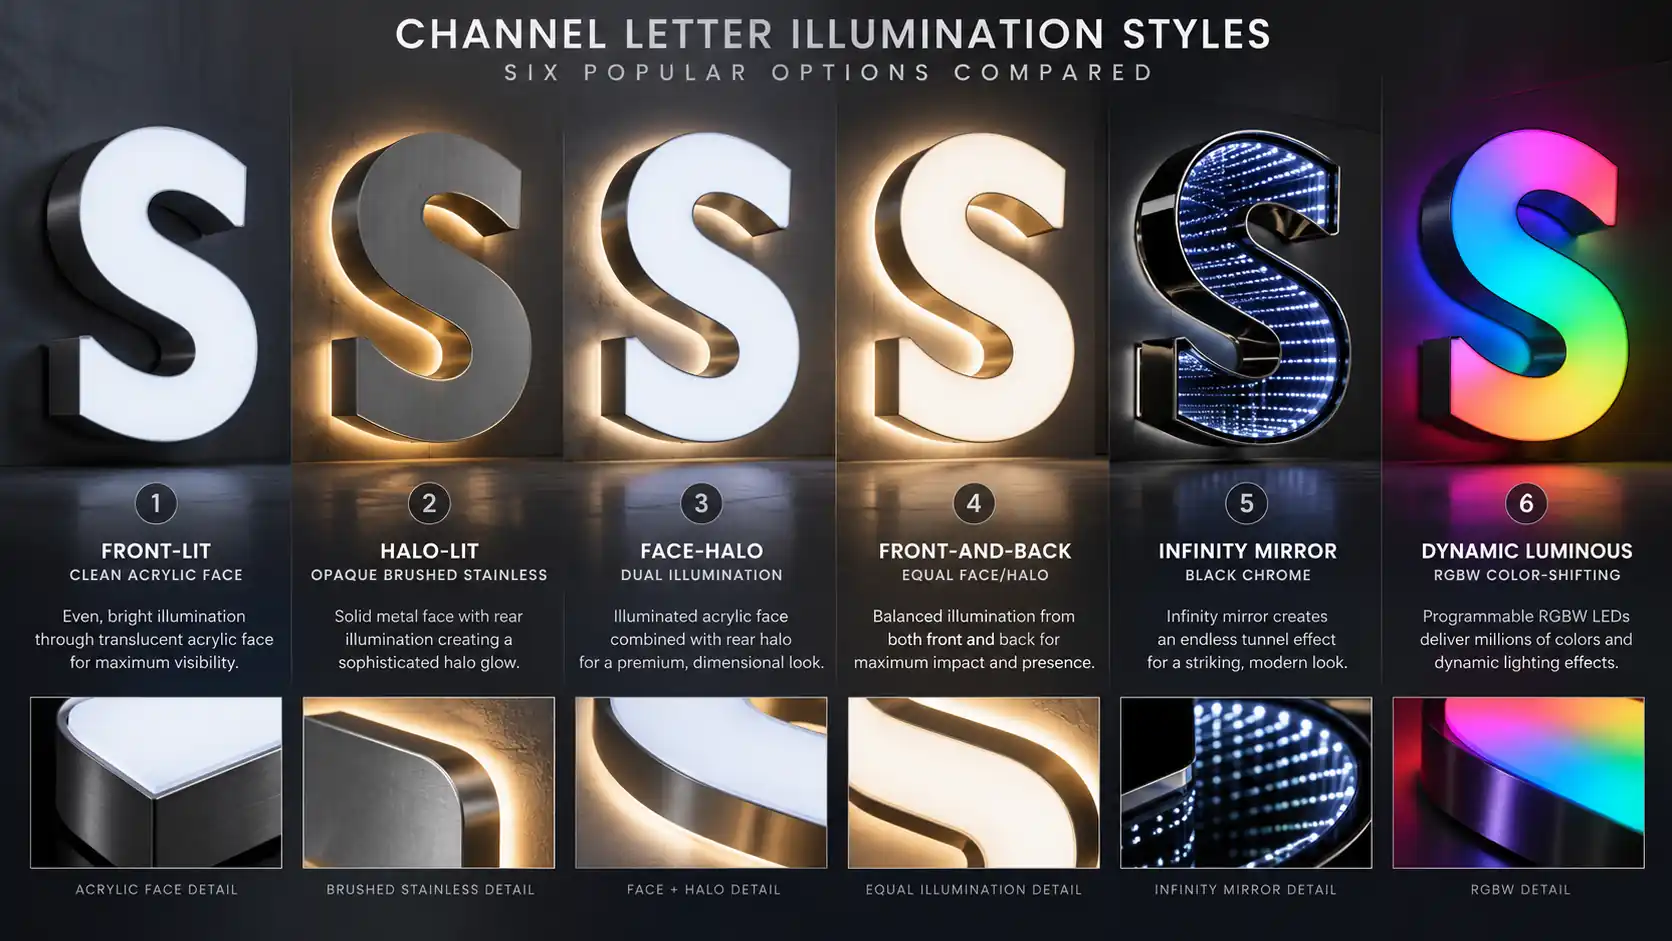
When choosing the lit configuration each location carries, let the spec’s sign-type schedule decide — mapping sign type to location class (flagship, standard, kiosk) and to the halo-lit or front-lit product line the region uses. That schedule is what stops a regional manager ordering a flagship sign for a kiosk, or a kiosk sign for a corner flagship.
Shipping and Packaging Letters Across Distances
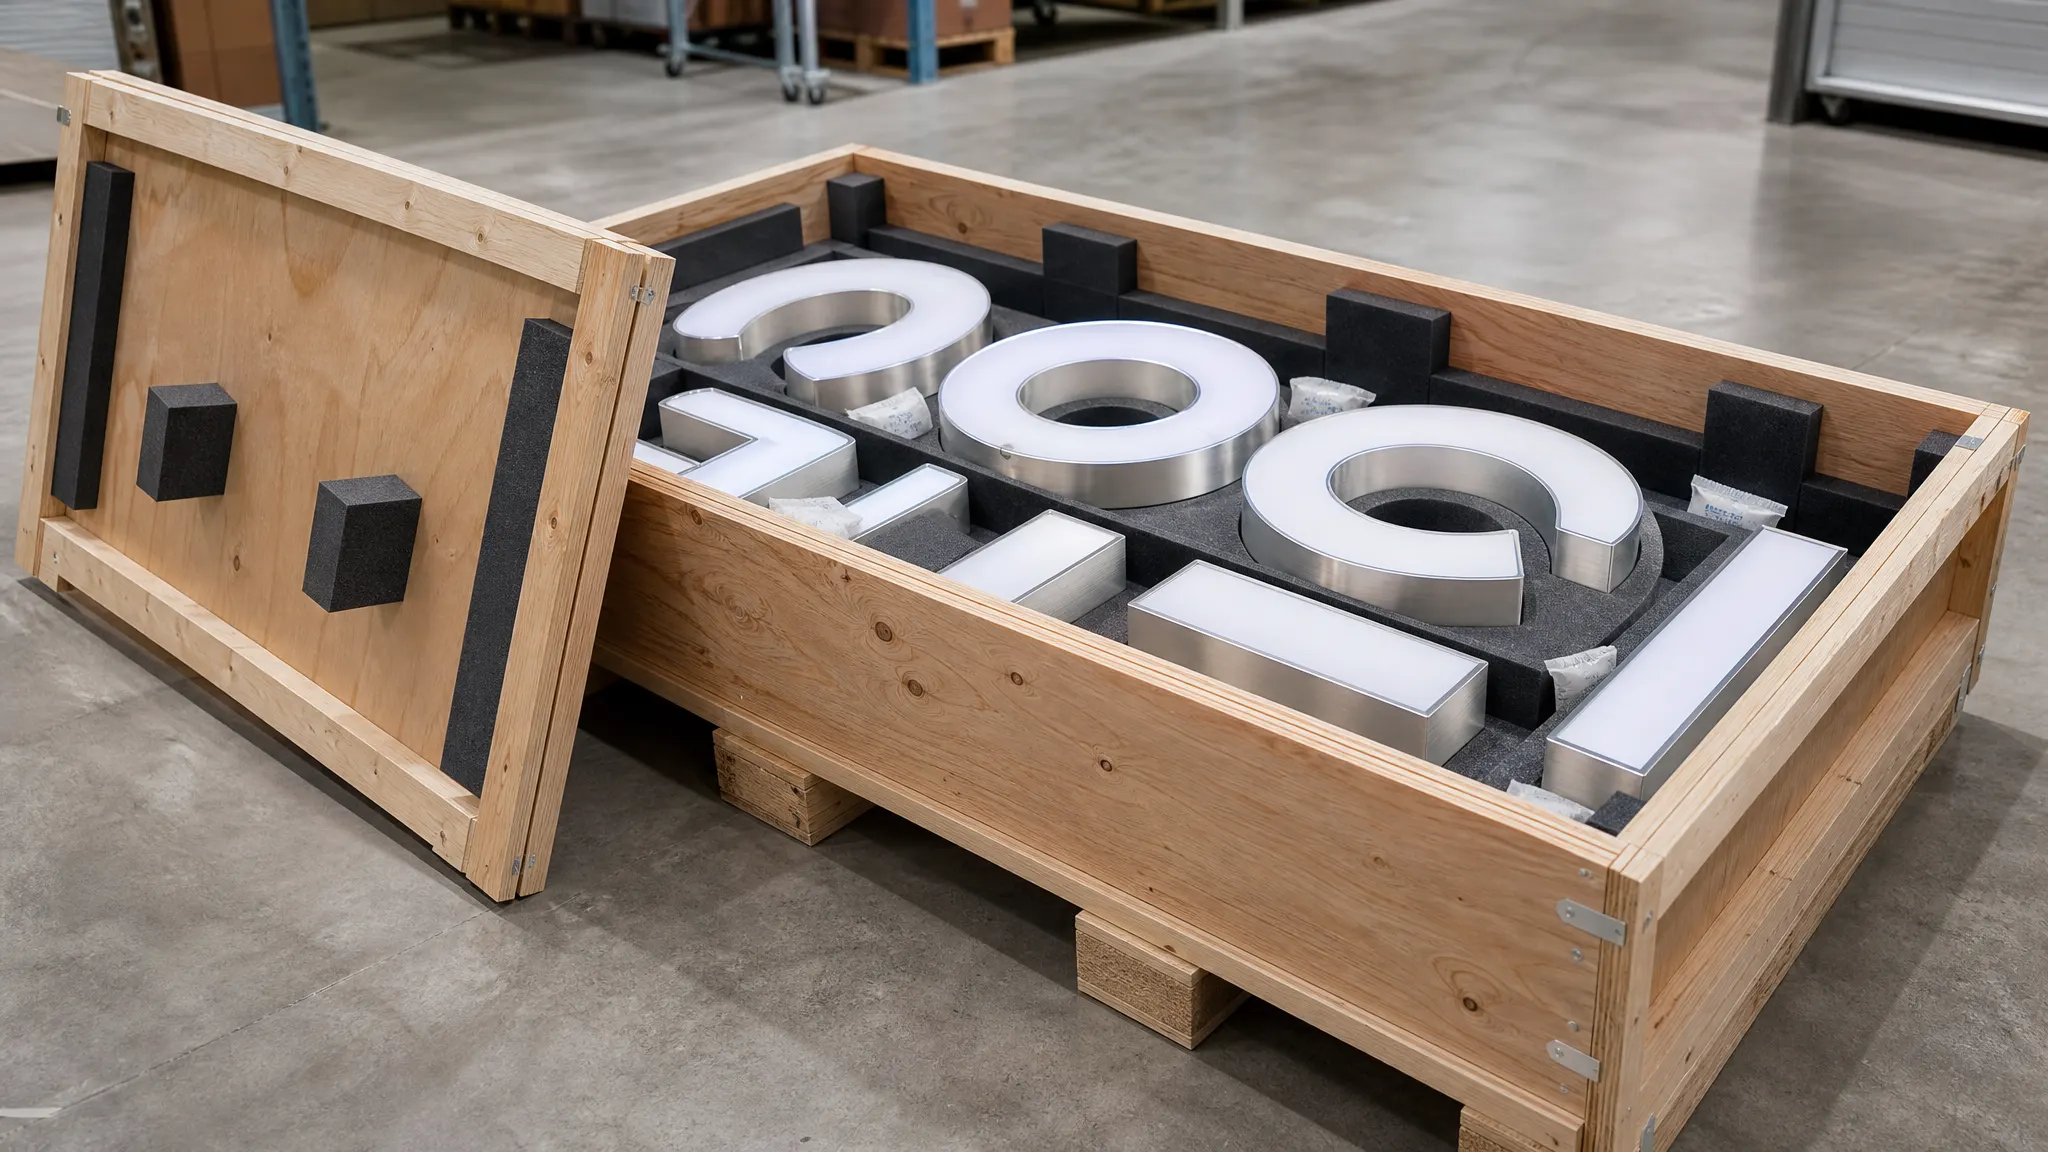
Standardization dies in transit if packaging is left to each fabricator’s habit. The spec defines it as strictly as the materials: rigid foam-lined crates, faces individually wrapped, corners protected by hard blocks, LEDs wired to one labeled point and never taped across a lighted face, and a packing list showing every component and its position. For multi-crate shipments, each crate is labeled with the letters it holds and their mount positions, so an installer who has never seen the sign can still assemble it on a rooftop at 7 a.m.
Two logistics disciplines protect consistency. A damage declaration at delivery — the carrier’s signature page photographed with the crates open before anyone touches anything, because a hairline acrylic crack found after mounting is an unrecoverable brand moment. And a standardized crate layout, diagrammed in the spec, so a replacement letter from a different fabricator six months later arrives in the same box the original did.
Qualifying Installation Vendors in Every Market
The fabricator can build the most consistent letters on earth; an unqualified installer will mount them at the wrong height, chase them through the wrong plane, and power them from the wrong circuit. Installation is a separately qualified activity, and the spec maintains an approved-vendor list per region, not one general list.
Vendor Qualification Checklist
- At least three comparable sign installs in the past two years, with references the network actually calls
- Electrical compliance: sign-code or UL-listed practices, current license, surge protection knowledge matching the spec
- Lift or scaffold capability at the spec’s mounting heights
- Signs the post-install checklist and submits photographs the same day
- Uses only spec-listed drivers, lamps and fasteners; substitutions return to brand for approval
Onboarding is a gate: a new vendor installs one supervised location under brand’s audit, and the result decides whether they join the regional list. A vendor certified on halo-lit systems is not automatically certified on front-lit systems, because halo-lit and front-lit products carry different light-management disciplines.
Running the Post-Install Audit
The audit closes the loop. Every location, anchor included, is audited against one fixed checklist at two moments — commissioning, when the sign first switches on, and the annual re-audit, which catches the slow drift: LED dimming, paint fade, a lamp replaced off-spec. A location that fails gets a remediation window, not a waiver: the fix is specified by the standard, executed by an approved vendor, and re-audited. A waiver written into the log as “accepted as-is” is how a network’s standard quietly stops being a standard.
Audit Checklist
- Face and halo color measured against the sealed reference, within ΔE 2.0 of the batch target
- Heights, spacing and setback re-measured against the spec table
- Kelvin reading verified; surge protection present; chase labeled and accessible
- Datum alignment within 2°; fastening per spec; no improvised supports
- Clear space held against neighboring signage and building elements
- Photos archived, measurement sheets filed, deviation log updated
Version Control When the Brand Changes
Signs are physical assets with a ten-to-twenty-year life, and no rebrand retires every sign overnight. The spec carries a version-control section that decides this in advance:
- Version numbering. Each revision gets a number and effective date; fabricators build to the current version, and every purchase order states which version it was cut against.
- Transition policy. Signs installed before the cutoff date run out their remaining life; signs installed after build to the new version. “Upgrade on next touch” migrates the network over the ordinary maintenance cycle, far cheaper than a hard re-face of every location.
- Grandfather register. Track which spec version lives at which location, tied to the deviation log, so operations knows exactly where the old identity still stands on the street.
- Component continuity. Reuse the old version’s drivers, chases and channel stock wherever possible, keeping spares interchangeable across a mixed-version network as long as possible.
Handled this way, a rebrand is a managed migration, and the deviation log becomes the single map of which signs are which version — worth more on rebrand day than at any time before it.
Frequently Asked Questions
How many prototypes do we need before a multi-location rollout?
One per sign type in the program, built with final materials and LEDs — not a render or a reduced mockup. A region that uses a different product line gets its own prototype. A prototype review is cheap; forty wrong signs are not.
What color tolerance should we specify for chain store signage?
ΔE ≤ 1.5 within a production batch and ≤ 2.0 between installed locations, always against a sealed physical reference at headquarters, never a screen or swatch card. Require a sample approval before each run, because paint and LED batches drift even under the same code.
Can local fabricators build the letters in each market?
Yes — that is the point of a written standard. Every fabricator on the approved list builds to the same spec and tolerance table, submits the same measurement certificates, and passes the same vendor gate. The spec, not the supplier, guarantees two signs on different continents look like one brand.
How do we handle cities with different sign codes and permits?
The spec’s installation section carries the baseline; the deviation log carries the exceptions. When a local code forces a different mounting height or lighting limit, the resolution is recorded once, approved by brand, and every other location in that city follows it. The sign permit guide in this series covers the permit landscape.
What happens to existing signs when we rebrand?
Run the transition policy in the spec’s version-control section: pre-cutoff signs stay until their next maintenance or replacement, post-cutoff signs build to the new version, and the grandfather register tracks which version lives where. A managed migration beats a hard re-face of the whole network.
Resources from this series: the consistency overview, logo preparation, sizing, permit requirements, our halo-lit and front-lit product pages, and the sign glossary for the terminology used here.